Monday, June 17, 2013

Channa Masala

Hi All,

I am back with another recipe - Channa Masala.

It was a long time since I made this. Usually, I make sundal with channa to pack to school for snacks and with whatever remains, I make a kurma. Since it was vacation time, I didn't get a chance to make anything with channa at all. So, decided to make this channa masala.

So, here goes the recipe for Channa Masala. This time I tried it with the ready-made channa masala instead of the different spices I usually add. It gave a slightly sweetish taste to the gravy.

Channa Masala
Ingredients


Channa: 2 cups
Channa masala: 1tbsp
Turmeric powder: 1/2 tsp
Cumin seeds (Jeera): 1tsp
Salt: To taste
Coriander leaves: To garnish
Oil

To grind
Onions: 2
Tomatoes: 2
Green chillies: 2
Ginger Garlic paste: 1tbsp

Preparation
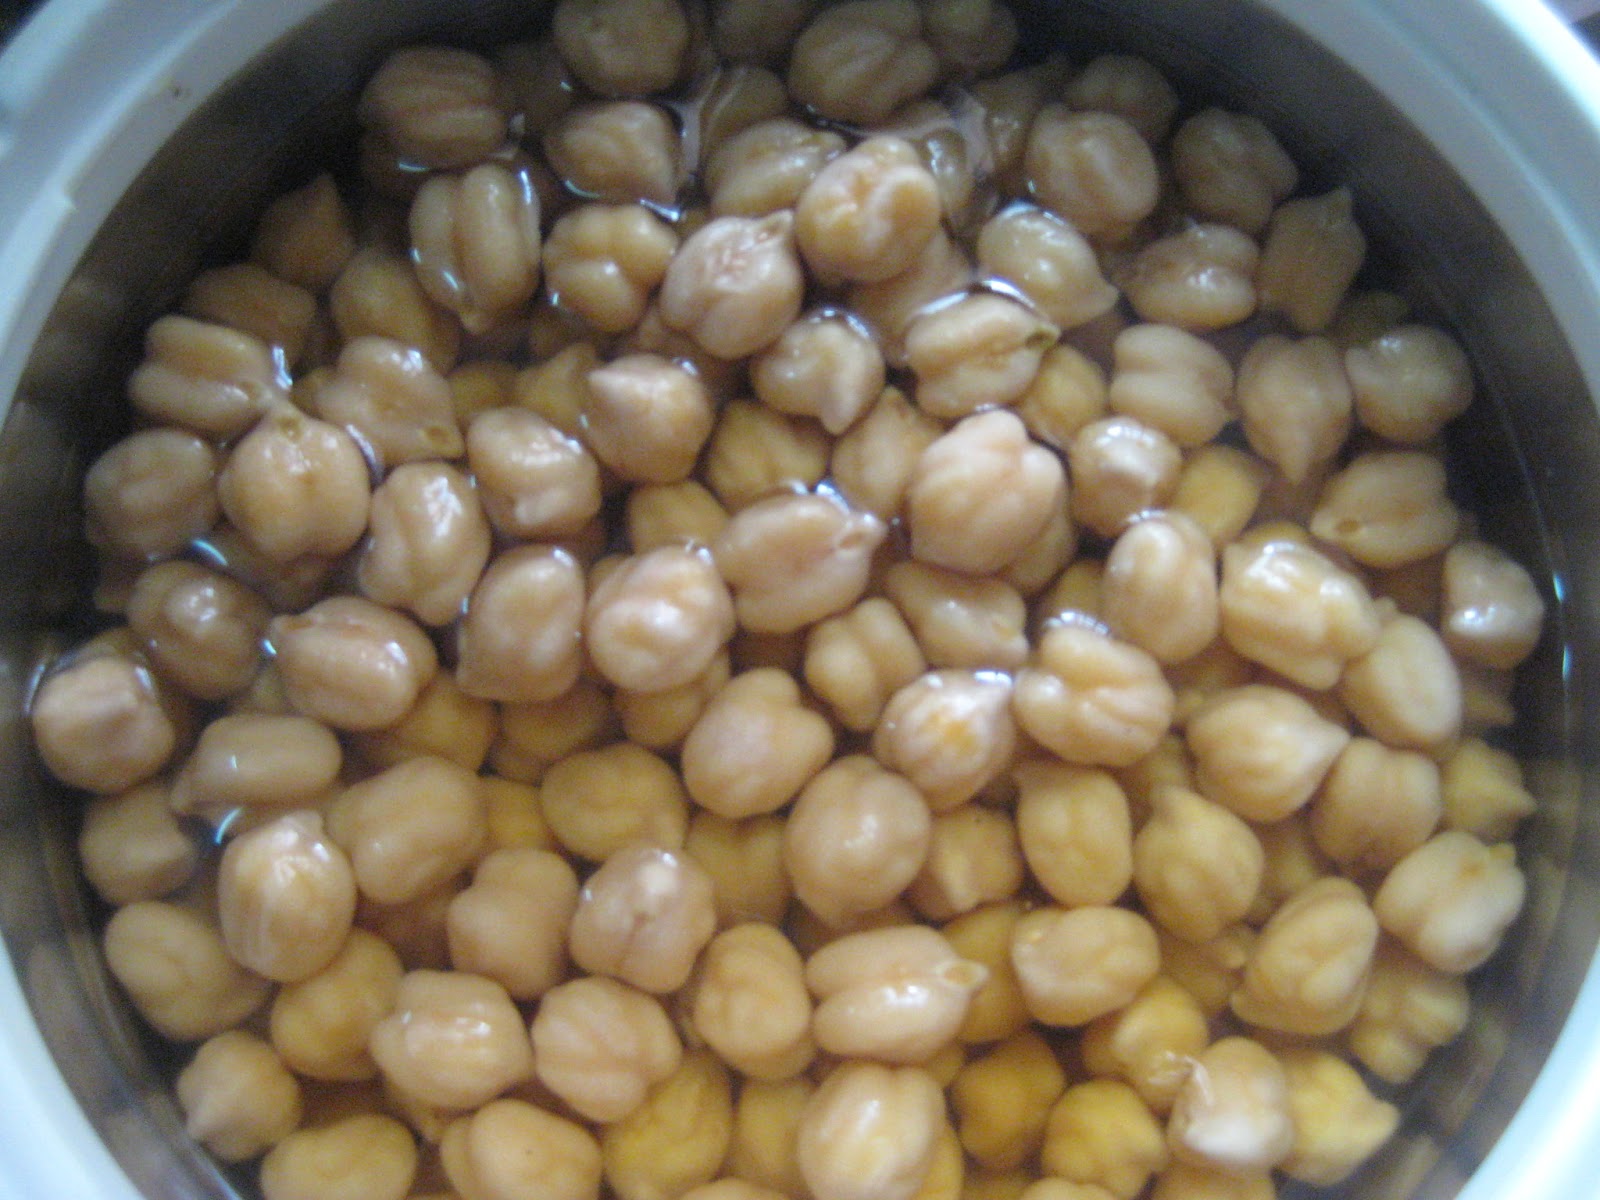
1. Soak 2 cups of channa in water overnight and pressure cook for 3-4 whistles. 
 
I forgot to soak channa overnight. So, I poured boiling water in a hot pack, put the channa in it, and kept it closed for 2 hours. Then, I pressure cooked the channa with salt for 4-5 whistles. 

2. Grind the ingredients under To Grind to a fine paste.
3. Heat oil in a kadai and add cumin seeds and turmeric powder.
4. Add the ground paste and fry till the raw smell goes.
5. Add channa masala and fry for some time.
6. Add the boiled channa to the gravy.
7. Add salt to taste. You can add little water now if the gravy is very thick.
8. Let the gravy come to a boil. Garnish with coriander leaves and serve. 

Channa masala is ready!! Serve with puri, roti, or rice.

Tips:
  • Instead of channa masala powder, you can add coriander powder, chilli powder, and garam masala powder.
  • If the gravy is very thin, I usually take a handful of the boiled channa and grind it to a paste and add it back to the gravy. This gives the gravy enough volume.
  • To make it kurma style, grind coconut, green chilli, and cumin seeds and add to the onion tomato paste.
So, how do you make channa masala? Do you use the readymade masala or put in your own spices?

Cheers!!!


Tuesday, June 11, 2013

My Birthday Gifts

Hi Everyone!!

I wanted to do this post end of May, but somehow it got pushed to June :)

May was the month of birthdays in our family. My husband, three of my BILs, SIL celebrate their birthdays in May. And, then it is my birthday also in May. So it is a lineup of birthdays. My kids have a gala time wishing their parents, uncles, and aunt on their birthdays :)

I just wanted to share a couple of jewelry sets that I received as gifts on my birthday.

The first one is a jewelry set from the brand Mystic. This was gifted by my close friend. It is a beautiful set with white stones and pearls.


The next is a gift from mom and sister. It is a lovely ethnic set. I love the beads that finish off the thread at the back, instead of leaving it bare.


My SIL gifted me these silver (polished with gold) earrings. This will also go well with ethnic outfits. She got this from GRT, T.Nagar.

I got a chance to spend a weekend at mom's place during the kids' summer vacation. So, this is how I whiled away my time - mehandi on my daughter's hands and mine :)


I don't have much creativity when it comes to drawing mehandi designs. So, please don't laugh :)

So, do you have any memorable gifts that you received on any special occasion? Let me know in the comments.

See you soon with another post!

Stay blessed!!!


Wednesday, June 5, 2013

Soya Fry

Hi Everyone,

This time I am back with a quick and easy evening snack. I was going through the net thinking of what to make for my kids and suddenly chanced upon this soya chunks fry. My kids love soya chunks. I usually make Soya Biryani and they carefully pick out the soya bits to eat. I had a full packet of soya chunks so I thought I would make a snack instead of the usual biryani.

Without further ado, here is the recipe for Soya Fry.
Soya Fry


Ingredients
Soya chunks: 2 cups (Nobody can stop with a few, so make sure you make a large portion) :)
Chicken masala: As required to coat all soya chunks. As an alternate, you can use chilli powder, salt, coriander powder.
Rice flour: 1tbsp

Preparation

1. Boil soya chunks in water for 10 minutes.


2. Drain the water from the soya chunks and run them under cold water. Squeeze out all water from soya.


3. Cut the soya chunks into smaller pieces.
4. Take the soya chunks in a basin and mix sufficient chicken masala to coat all the soya pieces. I used Sakthi Chicken Masala.


5. Let it marinate for 15-20 minutes.
6. If you want crispy soya fry, mix 1tbsp rice flour to the soya chunks. This step is optional.
7. Deep fry in hot oil in batches.


8. When they turn brown and crispy, drain on a tissue paper. Soya fry is ready to serve.


I kept popping soya fry as I was making them. It tastes delicious. So, ensure you make sufficient quantity to fill everyone's tummy :)

Do you have a different recipe for soya fry? Do let me know in the comments.

Wednesday, May 29, 2013

Chilli Idli


Hello Everybody,

Here goes my first recipe post on this blog.

I was thinking of a quick snack for kids. Now that they have their summer vacations, they get bored easily. And, when they get bored, they get hungry :)

I had made 12 idlis for breakfast one day, but then my kids wanted pooris. So, I made pooris for kids and lots of idlis were left over after hubby and I finished our breakfast. I thought I would keep those idlis for dinner, but then evening snacks beckoned the idlis :)

I wanted to make Idli Upma, but then thought of doing something different. So, after browsing through several recipes for Chilli Idli, I came up with my recipe.So, here goes the recipe for Chilli Idli.

Chilli Idli

Ingredients
Idlis: 5-6
Onions: 1-2 chopped finely
Tomatoes: 1 cut into small pieces
Garlic: 5-6 cloves chopped finely
Curry leaves: 5-6 leaves
Oil: 1tbsp
Mustard: 1tsp
Turmeric powder: 1/2 tsp
Soya sauce: 1/2 tsp
Chilli sauce: 1 tsp
Tomato sauce: 4 tsp
Salt: To taste

Preparation

    1. Chop onions, tomatoes, and garlic.


    2. Cut idlis into small bite sized pieces.


    3. Heat oil in a pan and add mustard seeds.
        After the mustard seeds stat spluttering, add curry leaves, onions, garlic, and turmeric powder.


    4. After the onions turn translucent, add tomatoes.
       Also, add the tomato sauce, chilli sauce, soya sauce, and salt.


    5. Cook well till tomatoes turn mushy. Do not add any water, else the idlis will turn mushy. Check for salt.

    6. Add the idli pieces and toss them around so that all pieces are coated with the masala and sauces.


    7. Just cook for 4-5 minutes and your Chilli Idli is ready. Transfer to serving bowl and serve.


    Tips:
    • Usually, chilli idli recipes call for idlis to be deep-fried in oil. But I wanted to keep this healthy for kids, so I did not deep fry the idlis. Kids also liked it this way. If you want, you can deep fry the idlis in oil before making this dish.
    • Idlis already have salt in them, so add salt accordingly to the onion tomato mix.

    Hope you enjoyed the recipe. Try it out and let me know. If you have a different version, do let me know.

    See you all with another post soon, hopefully :)

    Thursday, May 9, 2013

    EyesLipsFace (ELF) Nail Paint - Smokin Hot (Beach Party # 3811)


    Last year, I pestered my husband to ask one of his friends in the US to order some items during the Black Friday deals. I selected the items on the ELF web site and my husband's friend ordered it from the US and got it delivered to his place. He handed over the package to me when he came down to India. So, I had ordered products worth $30 because there was an additional offer of 10% off on orders more than $30.  


    Today I will be reviewing Smokin Hot from the ELF 3-piece nail polish set called Beach Party. I liked the colors in this set.

    (source: www.eyeslipsface.com)

    What ELF Says:
    Achieve instantly beautiful, healthy-looking nails with these 3-Piece Nail Polish Sets. With 3 gorgeous polish colors in each set, mix and match to create totally unique manicures that best reflect your personal style. The revolutionary bristle design glides color on flawlessly. Infused with active Vitamin E for stronger healthier nails and quick dry formula means a no-mess application. A great value for any nail polish lover!  

    Price: $3 for the 3-piece nail polish set.
    Beach party has three shades - Coral Dream, Flirty Fuchsia and Smokin Hot. I gave away the first two to my sister and kept the darkest one for myself because I like dark shades.
    Smokin Hot is the darkest of the three. It appears coral on the nails, wonder why they named the first one Coral Dream. It is very pigmented and a single swipe is enough for an opaque shiny finish. The bottle is rectangular in shape and so is the cap. So, sometimes the cap doesn’t align properly with the bottle while closing. But the brush is decent, the handle is not long but not too short either. The brush bristles help in giving a flawless finish. 


    Here is how it looks on my nails.
     Enjoy the pictures :)


    Pros:
    • Just $1 J
    • One swipe is enough for a good opaque finish
    • Brush helps give a flawless and smooth application
    • Non-streaky
    • Doesn’t chip for around 1 week

    Cons:
    • Availability is a major issue.
    • Cap doesn’t align properly to the bottle sometimes.
    Would I repurchase: I got so many ELF nail paints, I would consider once I am done with all my nail paints J
    Rating: 4/5
    What do you think about ELF nail paints?


    Sunday, May 5, 2013

    My First Post :)

    Hi Folks,

    So, here comes my first post after a long time of dilly-dallying and sheer laziness.

    I will be sharing with you all my thoughts on this, that, and everything :) I had started another blog some 6-7 years back and after 3-4 posts, got so irregular that I forgot the password to my blog and couldn't access it myself :) I hope to be regular on this blog, let's see!

    Now, let me think of something really good and interesting for my actual first post.... this is just an introductory post.

    So, see you all soon!

    Keep reading,
    Meera